Almost three years ago, I embarked on a one-month long low waste experiment that forever changed my habits in the kitchen. I started soft plastic recycling, got a Terracycle box for other single use items, and most important for my environmental footprint: I learned how to compost at home.
Once I started composting, I couldn’t believe how easy it was and what a giant impact it had for all our waste. With no smelly things fouling up our garbage, we began to only go through one bag a month. Not only did our kitchen waste dwindle, but we discovered that the majority of items in our bathroom trash could actually be composted. Q-Tips, tissues, hair from our brushes, cardboard toilet paper tubes, biodegradable floss—to the compost it all went.
Since then, I’ve become a bit of a nutty composting advocate on social media and a slightly more annoying nudge within my friend group in New York City. And yet, I’ve never put together a 101 guide on how to compost. So on Earth Day 2020, in the middle of a pandemic, here we are!
One of the small silver linings of the Covid outbreak is that it’s forced us to face our formerly wasteful ways head on. Even for me—a devout composter! Since I cook so much for work, I’m always buying things I don’t necessarily need and forget to use. Composting has made me feel less guilty about the larger impact of this waste. But now I’ve been forced to dial that back, making sure I use fresh fruits and veg start to finish, because by the end of our 10 day grocery cycle, I’m left with so few of them.
One of the many more unfortunate impacts of the Covid outbreak is that cities and states are having to cut their budgets to fund emergency care. In New York City, among those cuts was municipal composting. This might mean being a little more creative since curbside pickup and Farmer’s Market drop offs are not an option at the moment. But this is why I’m covering how to compost indoors and in a small apartment!
Read on for everything you need to know about what to put in your compost, the best compost bins, worm-based systems for the home, turners and larger bins for rooftops and backyards, and how to use the soil when it’s ready!
With health and hedonism,
Phoebe
THE BEST COUNTER-TOP COMPOST BINS

Let’s start with the basics. You decide you want to start composting. You’ve identified somewhere you can take your scraps each week. So now what?
This part is much easier than you might imagine. There are tons of cheap countertop composting bins that don’t take up much space and are equipped with a charcoal filter that masks odor. You might be skeptical, but I can tell you from experience, you won’t smell a thing so long as the top is on.
All you’ll need to get started is one of these bins and a box of compost bags to fit inside. In under $40 you’ll be ready. Boom!
Depending on how big your family is, you’ll probably need to take out the compost or replace the bag once every few days. If you have especially wet items that create a lot of water sinking to the bottom, you will have to be careful about the bags leaking. These are biodegradable materials, after all. We find that the best practice for these bags is using a spare produce rubber band to secure the top around the rim of the compost bin.
The best hack for those going to the Farmer’s Market only on weekends is to use your freezer to store excess compost. You can double bag it or place it in a brown paper bag, which is also completely compostable. More on the full list of things you can compost below!
Utopia Stainless Steel Countertop Compost Bin: This was Amazon’s pick and the one we purchased many moons ago. It’s served us super well and we haven’t even needed to replace the filter, though it’s easy enough to buy replacements. The size is 1.3 gallons, which is perfect for the countertop. For $25 it gets the job done!
Bamboozle Countertop Food Composter: This is a more attractive option, though I can’t personally vouch for its effectiveness. People seem to love it though!
OXO Good Grips Easy Clean Compost Bin: I prefer the above option for aesthetics, but this one isn’t too shabby either, and OXO tends to make very good quality products.
Biobag Compostable Food Scrap Bags: There are plenty of companies with compost bags that can serve as your liners. For the countertop containers (which are around 1.3 gallons) you’ll want to aim for something under 3 gallons. We like that these Biobags leave a little extra room for over-stuffing.
ECOOPTS Compostable Freezer Ziplock Bags: For excess compost that needs to wait a few days to take to a drop off location, these bags come in handy. They are also great for scraps for veggie broth, and a low waste replacement for normal freezer bags!
WHAT CAN I COMPOST? THINGS TO PUT IN THE BIN
This is the most frequent question among composters: which foods and materials can go in the bag? The answer really depends on who is manning the compost heap. Most Farmer’s Markets and at-home systems will require you to hold the animal products and dairy. This is due to odor, health of the soil, and the fact that many farms will use your compost to feed their chickens or pigs and prefer to avoid forced cannibalism.
Municipal composting, on the other hand, will accept a lot more. In addition to animal products, you can also throw in most biodegradable cups, plates, and containers. If your plastic cup says its biodegradable or compostable, it cannot go in recycling. It also cannot go into your everyday garden or home composter, as they require commercial systems to break it down. Better to remember your reusable cup from home!
Most people don’t realize all the brown paper items you can compost, and think, why put my newspapers and torn up cardboard in there when they can go in recycling? While you may think these items are taking up unnecessary space from your produce scraps, they actually serve a vital role for the health of your composting system, regardless of whether it is indoor or outdoor. Paper products often decompose faster and their presence rounding out your soil will keep odors down. If you notice your compost is stinky, add some paper.
If you’re taking your compost directly to a farm, make sure to check with them first to see how it’s being used and what they accept–some may not take paper if it’s being fed to animals, so stick with the first three items below.
Basic Items That Can Be Composted
- Fruit and vegetable scraps of any kind (make sure to remove stickers! See below for citrus and onion caveat)
- Plant-based foods (bread, nuts, grains, potato chips, pasta, popcorn kernels, etc.)
- Eggshells
- Coffee filters and grounds
- Teabags (tags removed – avoid plastic sachets)
- Cotton swaps and Q-Tips (so long as the stick is wood, not plastic)
- Cotton balls
- Cheesecloth
- Tissues
- Paper towels and napkins (if using to wipe up chemical sprays, omit)
- Brown paper bags
- Parchment paper
- Paper muffin or cupcake liners
- Cardboard, undyed and torn into small strips* (egg cartons, unwaxed pizza boxes, etc.)
- Newspaper
- Printer paper
- Biodegradable undyed paper containers
- Hair (human or pet)
- Garden clippings (grass, leaves, flowers etc. – larger wood branches should be avoided)
- Wine corks (made of actual cork, not plastic!)
- Toothpicks
- Tampons and cardboard applicators (if they are 100% cotton)
- Bamboo skewers (broken into small pieces)
- Pencil shavings
- Used matches
Additional Items For Municipal / Commercial Compost
- Animal products (chicken bones, fish skin, etc.)
- Dairy (butter, cheese, milk, ice cream)
- Compostable packaging and utensils (cups, containers, forks, etc.)
- All plant and yard waste, large and small
Things to Avoid Putting in Your Compost
- Glossy, colored paper (anything with a sheen, waxy finish, or artificial dyes, such as magazines)
- Dryer lint (unless all your clothes are made of natural fibers…and let’s be honest, most are not)
- Pet feces
- Citrus peels (if you’re using a worm-based system, these can kill those precious organisms and take a long time to break down for garden compost)
- Onions and garlic (same as above)
* Make sure to remove any tape off of packages
If you’re unsure, here’s a list of 100 things you can compost and 10 things you should not.
THE BEST INDOOR COMPOSTING BINS AND SYSTEMS
If you have a local farm or live in a city or state that collects compost, you’re ready to roll! If not, you may need to invest in your own system to turn those household scraps and debris into usable soil.
For those with a backyard or outdoor space, this is fairly easy (see my list below). But if you’re an apartment dweller, you’re going to need a space efficient system that won’t smell. And this my friends, may involve worms!
I know that concept might be off-putting. But it’s actually kind of cool, surprisingly un-icky, and very user-friendly.
Using a system with worms speeds up the process and allows you to produce soil without the usual assistance of heat / sunlight. They also tend to be low odor. You’ll want to identify a home for your worm bin before buying – either a closet, under the sink, or corner of the living room. Some people even put them under their bed!
Here are the best systems I’ve found on the internet, as I haven’t personally used them:
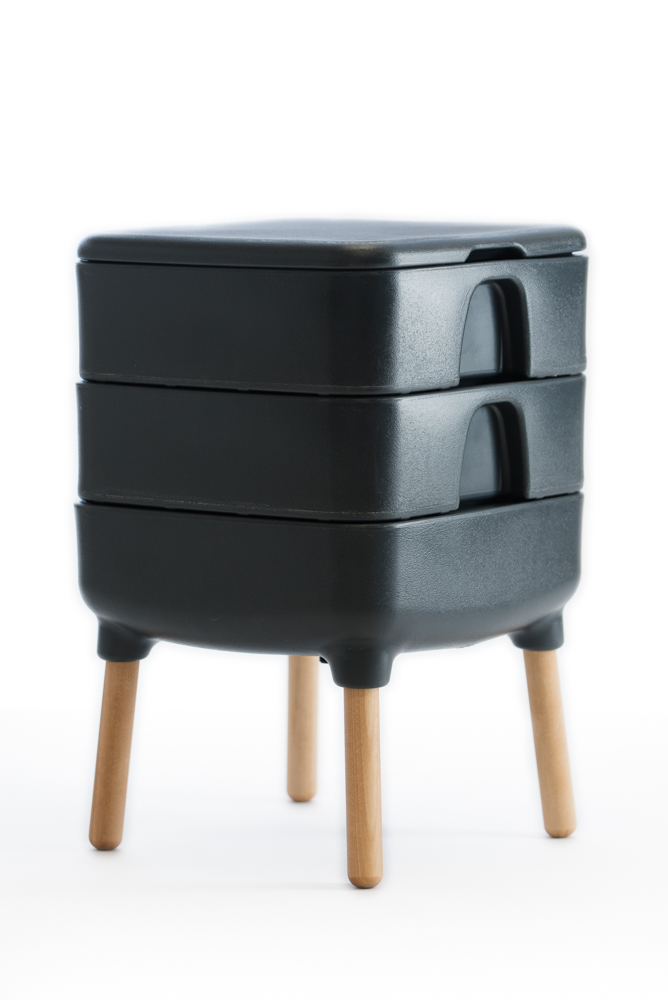
Hot Frog Living Composter – $90 – This one is so attractive it would look at home among your furniture!
Urban Worm Bag – $119
VermiHut Plus 5-Tray Worm Compost Bin – $90
THE BEST OUTDOOR COMPOST BINS AND SYSTEMS
 There are plenty of composting systems that can fit within small spaces. So if you’re an apartment dweller, don’t rule out putting something on your balcony or roof.
The most important factors when choosing a bin is how much time you have to dedicate to composting, how much waste you’ll be generating, how quickly you’ll want to use your soil, and how much money you’re willing to spend.
Most systems are critter-proof, even for pesky city rats. So don’t worry about that element. And so long as you stick to the advice above on what to put in your compost, you shouldn’t have odor issues.
The most common types of composters are either turning systems, which allow you to rotate the compost so that it’s evenly processed, and stacking systems, which allow the useable soil to fall to the bottom. The latter often means your compost will take longer, but it will give you a better system for removing finished soil, whereas turning systems may force to take a take a breather, remove the soil, then start over, lest you have a few whole Q-Tips in your garden from a more recent deposit.
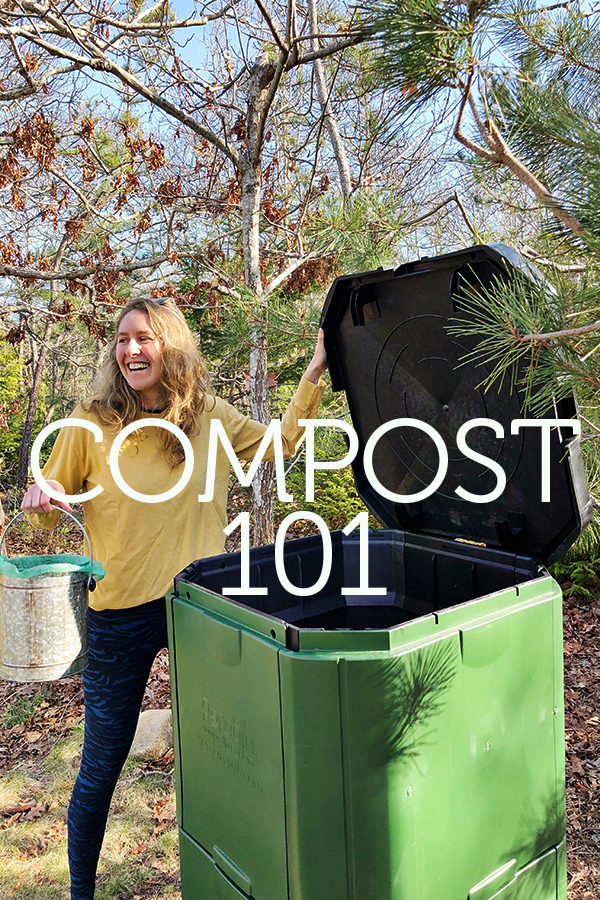
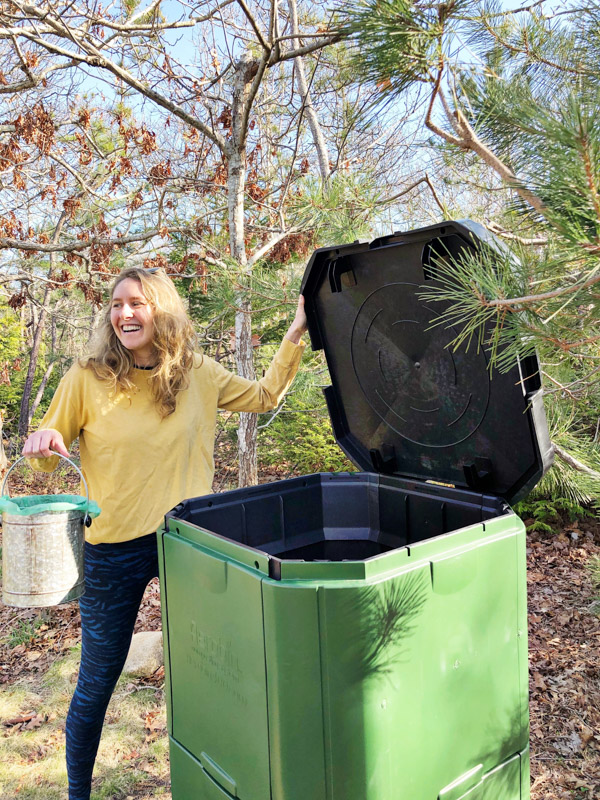
We ended up going with the Aerobin. Though it’s the most expensive option below, it was big enough to hold the waste of our family for 3+ months and it requires no turning or extra maintenance. If you have a small building, you may consider going in on this with your neighbors and putting it on the roof!
Mini Tumbler Bin Composter – $189 – This system is only 17 gallons, which means if you cook a lot you will probably fill it in just a few weeks. It sits on a podium that allows for easy rotation, but you may prefer the system below with a hand crank. However, this is a great city option since it’s so small and can easily fit on a rooftop. Plus if you’re in need of a new hobby, going out to rotate once a day is quick and simple.
Tumbler Composter – $100 – This system is easy to rotate on a crank and is very affordable. It also has two compartments that allows you to avoid mixing new and completed compost. However, I’ve heard it is a real process to assemble that may rival even the most annoying IKEA dresser.
Jora Compost Tumbler – $475 – This is one of the best rated and most attractive of the tumbler options, but obviously comes at a steep price. It holds 70 gallons which should last you a while.
Aerobin Insulated Composter – $385 – We decided to go with this Australian system that was referred to as the Ferrari of compost bins. It’s an insulated system that doesn’t require any turning or maintenance. You just dump your scraps and leave them. This appealed to us (since we are lazy), as did the size: 117 gallons! Though it takes 3 months for the compost heap to evolve into soil, the size means we will never run out of room. It was very easy to assemble and has access panels on the bottom so that finished soil can be removed for the garden, and a nozzle for a house to transport compost tea to the garden.
WHAT DO I DO WITH MY COMPOST WHEN THE SOIL IS READY?
The result of all your industrious composting efforts is super rich, highly nutritious soil. There will also often be liquid collected on the bottom of the unit that’s called compost tea – a liquid fertilizer of sorts!
For the soil, if you don’t have a garden, you can top off indoor potted plants or offer the soil to a community garden or farm nearby. You can always transfer it to a bag for later.
The compost tea can be removed if your system has a spout for it and used to water plants!
HEALTHY HEDONIST TAKE AWAY
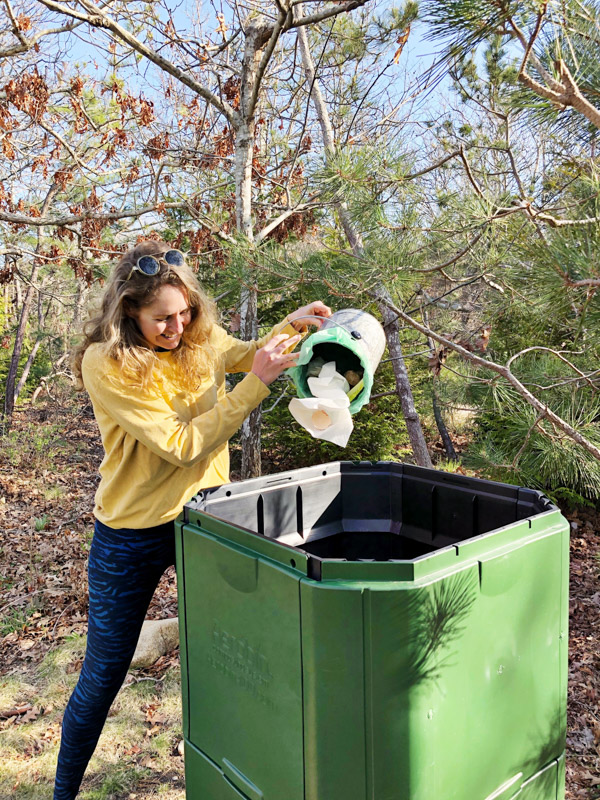
I hope this post goes to show that composting can be incredibly hands off and easy – it’s really just a matter of adjusting your habits. Everything is second nature to us at this point in the kitchen, and we’ve been loving taking our load out to the Aerobin instead of the city brown bins!
I’ll report back in a few months when our first batch of soil is ready to roll and let you know if I have any additional tips.
Have you tried composting at home? I’d love to hear your experience in the comments.
I love to compost and I love my worms. There’s no better way to keep kitchen scraps and yard waste out of the waste stream. The best way to recycle organic matter.
http://www.JerryWhiting.com/compost/